 A quilt for my grandson who wanted a green and black plaid quilt. You think this will work? so far it is just a top, not sure if I will quilt it or send it out to a long arm quilter. Still need to figure out backing, but it will be a wool batting (have a roll of that). It is roughly 90" x 100" and will have a 1/2" black binding when done (sashing is also 1/2"), I think. Might do the green in a skinnier binding.
Saturday, January 1, 2011
"Plaid" quilt
A quilt for my grandson who wanted a green and black plaid quilt. You think this will work? so far it is just a top, not sure if I will quilt it or send it out to a long arm quilter. Still need to figure out backing, but it will be a wool batting (have a roll of that). It is roughly 90" x 100" and will have a 1/2" black binding when done (sashing is also 1/2"), I think. Might do the green in a skinnier binding.

new sewing room
All of the pieces are in my new sewing room! Not all organized, but they are here. Got the Kvartal room divider up today that will hold quilts to be photographed or a felt design wall (as needed).

Bernina 630 and computer center - up until recently this was the only sewing station in here.

But now I have a new sewing cabinet, delivered shortly after Thanksgiving, which houses my Bernina 200. I haven't been sewing on it lately since I hated moving it in and out of the Koala cabinet, now I don't have to do that anymore. I have the center of the Quilt Show 2009 block of the month cut out and ready to sew next to the machine. I want to get it done this year!
 Then I have a prep table, with a pressing board for preparing applique ala so many people! Pearl Pereira, Karen Kay Buckley, and me
 . Want to get back to that too. Pearl's Christmas Baltimore is waiting for me to start! Before that I am going to practice on a block with larger pieces, a gingko leaf design by Jill Rixman, a designing woman. Pearl's pieces are small, want to practice first!

A Christmas present was the TV that is now mounted on the wall, can be swiveled to watch at different places, and has a Wii attached (so I can exercise in here too!) I had to move a few things around to make room for that, but think it will work out great. The Wii Fit platform is stored under the Hemnes cabinet to the left of the TV. You can also see a few more plastic storage boxes that didn't fit into the storage cabinets, more under the prep table too. Need to use up some fabric before I can get anymore!

The outside entry to this room, still need to clean up the stuff in the driveway (which you can't see, thank goodness) and my corner cabinet.
 The armoire that is now holding clothing fabric and large bits, lots of backgrounds, but a few other things too. On top is more storage, the lightbox should get moved to the applique prep area, where it will be used.
 And finally, the cutting table, pretty large, so now I can cut out clothes! Not making too many right now, as I am also trying to lose weight. 35 pounds are gone, at least another 30 to go. Once they are gone I will see where I am size wise. Weight Watchers, in case you are wondering. A bit stalled over the holiday season, but with the New Year I am re-motivated to get rid of this excess flab.

Bernina 630 and computer center - up until recently this was the only sewing station in here.

But now I have a new sewing cabinet, delivered shortly after Thanksgiving, which houses my Bernina 200. I haven't been sewing on it lately since I hated moving it in and out of the Koala cabinet, now I don't have to do that anymore. I have the center of the Quilt Show 2009 block of the month cut out and ready to sew next to the machine. I want to get it done this year!
 Then I have a prep table, with a pressing board for preparing applique ala so many people! Pearl Pereira, Karen Kay Buckley, and me
A Christmas present was the TV that is now mounted on the wall, can be swiveled to watch at different places, and has a Wii attached (so I can exercise in here too!) I had to move a few things around to make room for that, but think it will work out great. The Wii Fit platform is stored under the Hemnes cabinet to the left of the TV. You can also see a few more plastic storage boxes that didn't fit into the storage cabinets, more under the prep table too. Need to use up some fabric before I can get anymore!

The outside entry to this room, still need to clean up the stuff in the driveway (which you can't see, thank goodness) and my corner cabinet.
 The armoire that is now holding clothing fabric and large bits, lots of backgrounds, but a few other things too. On top is more storage, the lightbox should get moved to the applique prep area, where it will be used.
 And finally, the cutting table, pretty large, so now I can cut out clothes! Not making too many right now, as I am also trying to lose weight. 35 pounds are gone, at least another 30 to go. Once they are gone I will see where I am size wise. Weight Watchers, in case you are wondering. A bit stalled over the holiday season, but with the New Year I am re-motivated to get rid of this excess flab.
Wednesday, December 1, 2010
Yellow Brick road and Noel quilts
Life has been busy the last month, went to the Houston Quilt Festival and made two (small and easy) quilts. In the middle of October I went to the Pacific International Quilt Festival and picked up the Noel quilt kit. I had seen it in various magazines and fell in love with the center panel. Once I got the kit I discovered the pattern called for fusing the triangles to the squares to make the trees. Not happening. I used the Tri rec tool to make them instead, much happier without the raw edge applique! Squaring up the center panel was a bit tricky, since it was warped, but I managed in the end. Quilting was another adventure, how to do it? Finally went with "in the ditch", only the ditch is really the printed lines for the most part, and a tree shape in the tree blocks.

A friend of mine decided to make a Yellow Brick Road (Atkinson Designs) for a baby quilt, so when I needed to make a baby quilt too, this pattern was already in my brain. I made a large one a year or so ago, so I found my pattern, some fat quarters, and went to work. I used 10 fat quarters to get a decent sized baby quilt with no borders, then another 8 fat quarters and leftover bits from the front to piece the back. After quilting and trimming the backing I used the trimmed bits to make the binding. Love the fabric, was going to use it for a pieced bit of clothing, but I think it is perfect for a little girl's quilt. Quilted with Warm and Natural batting, King Tut #905 thread on the top and Masterpiece #147 on the back.


A friend of mine decided to make a Yellow Brick Road (Atkinson Designs) for a baby quilt, so when I needed to make a baby quilt too, this pattern was already in my brain. I made a large one a year or so ago, so I found my pattern, some fat quarters, and went to work. I used 10 fat quarters to get a decent sized baby quilt with no borders, then another 8 fat quarters and leftover bits from the front to piece the back. After quilting and trimming the backing I used the trimmed bits to make the binding. Love the fabric, was going to use it for a pieced bit of clothing, but I think it is perfect for a little girl's quilt. Quilted with Warm and Natural batting, King Tut #905 thread on the top and Masterpiece #147 on the back.

Tuesday, October 26, 2010
Farmer's wife Sampler blocks are done!
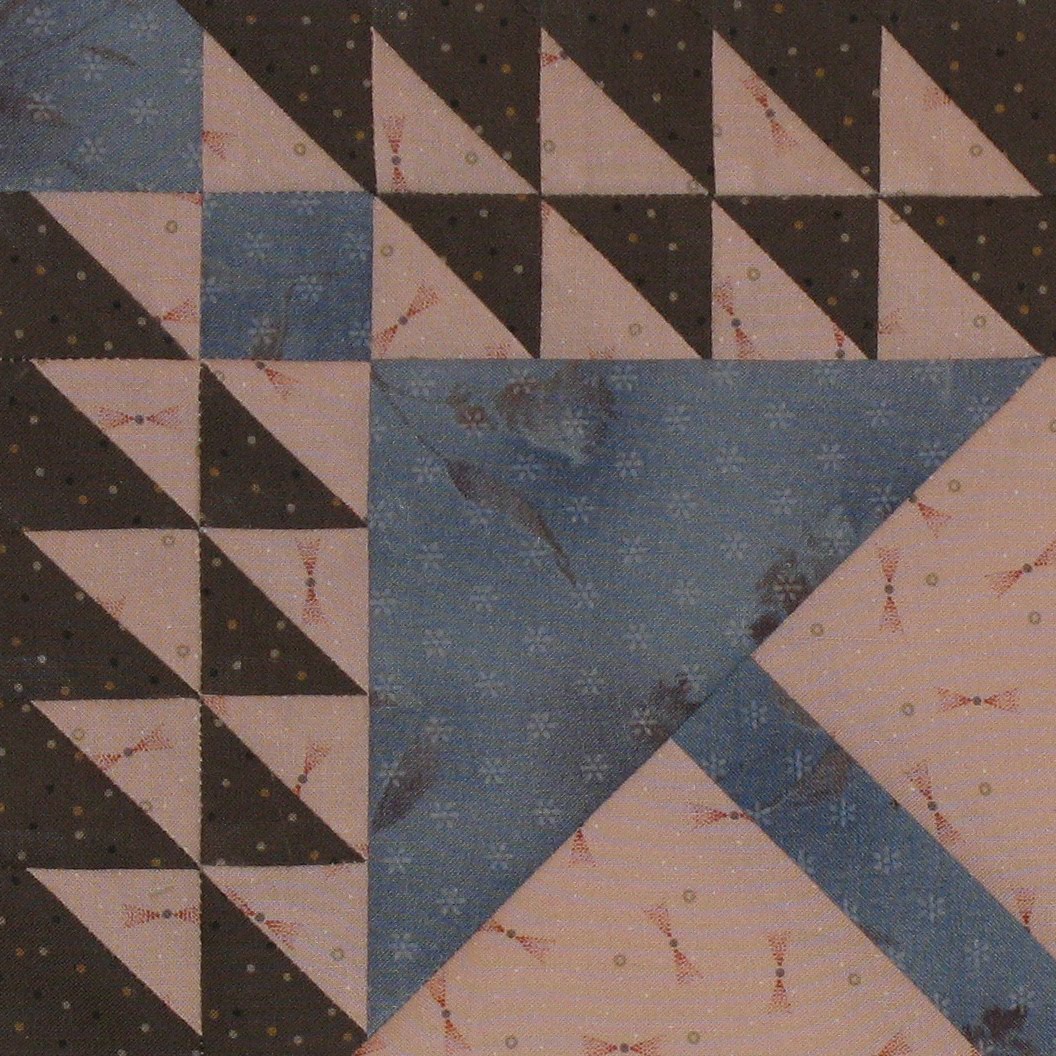
When I get close to the end of the block piecing I tend to have a final spurt of energy, and so it was with FWS. A variety of methods were used, but mostly using Marti Michell templates, and a bit of strip piecing, and finally paper pieced about three of them.
This top picture shows all of them on my new design "shade", the vanishing design wall. It pulls down quite a ways more (twice as long as it is wide), but not so easily with the sewing cabinet in front of it!


This top picture shows all of them on my new design "shade", the vanishing design wall. It pulls down quite a ways more (twice as long as it is wide), but not so easily with the sewing cabinet in front of it!




Friday, October 22, 2010
Baby quilt done

Another baby quilt from Lickety-Split Quilts for Little Ones by Laurie Bevan, this one started square, but got turned rectangular by adding another row on the top and the bottom. I played around in EQ before deciding on this variation. Fabrics are Kaffe Fassett's Roman Glass (two colorways) and Splash (Blank textiles).
Believe it or not, I mostly used Marti Michell templates for this quilt, except for the large center square and the large quarter square triangles, those I printed from EQ and used a MM template to trim the points so all the pieces went together nicely (without rabbit ears).
Tuesday, October 19, 2010
Placemats and shutters
Placemats are ready to be quilted! I made two variations, four each. Now to decide how to quilt them. I decided to bind them after all, rather than flip inside with a turning hole. Still debating on the binding fabric, but it could easily be the lightest fabric, which is also the napkins. Need more wooly thread for the serger, it takes two and I only have one spool each of two possible colors (which aren't quite the colors either). The checked fabric is the backing for six of the placemats. Need something for the other two.


You can barely see my new mats (from Martelli), gotten at PIQF. They cover the table nicely (moved the Alto cutting system to the old cutting table). they have different colors on each side, yellow for dark and purple for light. So far I like them a lot.
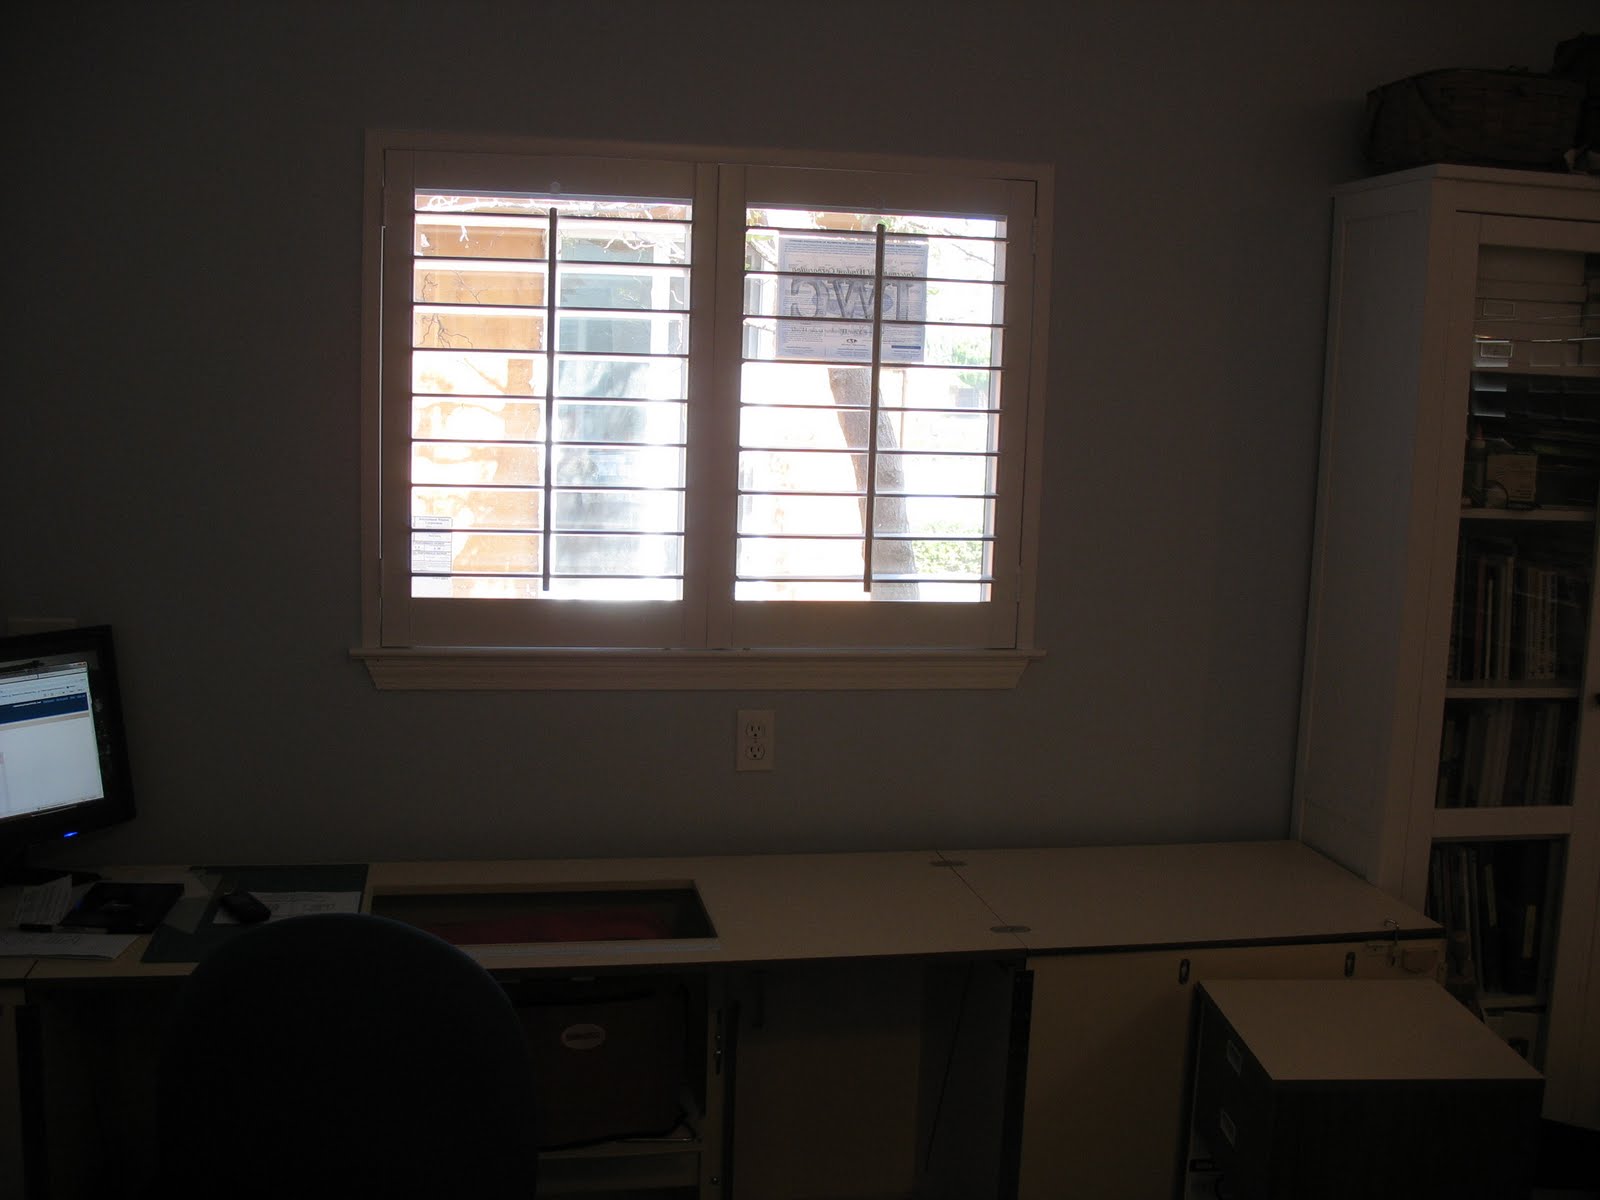
The shutters are installed! Now I don't live in a fishbowl when in the sewing room. It is a converted garage, so faces the street, and cardboard in the windows was getting old. Also have the track lighting installed. You can't see it in the dark picture at the bottom, but it goes around the room, lighting the work areas and the storage cabinets, with three different controls, which are also dim-able.


Last night I was looking at Annie Smith's blog (http://simplearts.com/blogs/), and she said it took her two weeks, 40 hours per week, to sort through her stash. So I figure it will take me to the end of the year, since I also have a day job. Which I better get to!


You can barely see my new mats (from Martelli), gotten at PIQF. They cover the table nicely (moved the Alto cutting system to the old cutting table). they have different colors on each side, yellow for dark and purple for light. So far I like them a lot.
The shutters are installed! Now I don't live in a fishbowl when in the sewing room. It is a converted garage, so faces the street, and cardboard in the windows was getting old. Also have the track lighting installed. You can't see it in the dark picture at the bottom, but it goes around the room, lighting the work areas and the storage cabinets, with three different controls, which are also dim-able.

Last night I was looking at Annie Smith's blog (http://simplearts.com/blogs/), and she said it took her two weeks, 40 hours per week, to sort through her stash. So I figure it will take me to the end of the year, since I also have a day job. Which I better get to!
Tuesday, October 5, 2010
Placemats
While sorting through things I rediscovered the fabric I bought a "while back". I used some of it to make the triangle table runner late last year (I think) and hoped to make some placemats and napkins with the rest of it. Rather than just storing it again, I decided to just do it! found a very easy placemat idea online and went for it. I needed another fabric in order to make 8 placemats with the same coloring, but found some in the stash pretty quickly. One is pieced, and one is partially sewn, and the rest are cut into strips. I cut the strips with my Martelli rotary cutter, 8 layers of fabric, and used the Alto cutting system. Made very quick work of the cutting, love it! No pictures yet, but soon. I'll need to dig out the serger for the napkins. Retiring some placemats the other day probably helped me along in the decision to make some more. And now I don't need to find a place to store that fabric!
"http://www.quiltcetera.com/Tutorials/Tutorials/placemats.html" is where I found the placemat pattern.
"http://www.quiltcetera.com/Tutorials/Tutorials/placemats.html" is where I found the placemat pattern.
Subscribe to:
Posts (Atom)